Part 4: Creating the style page
Next we’re going to create a style page were we can apply CSS styles to general elements such as heading tags and links. I always like to do this first because it sets the stage for the rest of the website. It also helps to complete the package and cover all the bases.
Step 1: Setup the styles.htm file
1. Open index.htm and copy everything in that file.
2. Open styles.htm and paste it there.
3. Inside the #content div paste the following HTML.
<h2>Images</h2>
<img src = "images/photo.jpg" alt = "" />
<h2>Headings</h2>
<h1>Heading 1</h1>
<h2>Heading 2</h2>
<h3>Heading 3</h3>
<h4>Heading 4</h4>
<h5>Heading 5</h5>
<h6>Heading 6</h6>

<h2>Paragraphs</h2>
<p>In arcu arcu, mollis ac auctor ut, <strong>viverra eget ante. Nulla nec</strong> libero et lorem tristique fermentum in placerat arcu. Sed quis eros ligula. Suspendisse potenti. Sed dictum est a nisi iaculis sodales. Cras sodales tempus tellus vel facilisis. Duis sit amet vehicula nibh.</p>
<p>Sed <a href = "">fringilla, mauris</a> eu <em>interdum suscipit, massa nisi</em> viverra nisl, id bibendum erat lorem rhoncus dolor.<a href = "">In non mauris quis</a> leo pretium sollicitudin.</p>
<h2>Unordered Lists</h2>
<p>Donec nibh sem, sagittis at mollis at, porttitor quis velit. Nullam ligula elit, fermentum sit amet mollis accumsan, fringilla vitae nunc.</p>
<ul>
    <li>Item #1</li>
    <li>Item #2</li>
    <li>Item #3</li>
</ul>
<h2>Ordered Lists</h2>
<p>Donec nibh sem, sagittis at mollis at, porttitor quis velit. Nullam ligula elit, fermentum sit amet mollis accumsan, fringilla vitae nunc.</p>
<ol>
    <li>Item #1</li>
    <li>Item #2</li>
    <li>Item #3</li>
</ol>
<h2>Definition Lists</h2>
<p>Donec nibh sem, sagittis at mollis at, porttitor quis velit. Nullam ligula elit, fermentum sit amet mollis accumsan, fringilla vitae nunc.</p>
<dl>
    <dt>Definition Title</dt>
    <dd>Item #1</dd>
    <dd>Item #2</dd>
    <dd>Item #3</dd>
</dl>
<h2>Misc</h2>

<blockquote>Block Quote</blockquote>

<p><acronym title = "Hypertext Markup Language">HTML</acronym> acronym</p>

<p><abbr title = "The World Wide Web Consortium" >W3C</abbr> abbreviation</p>

<h2>Tables</h2>
<table>
    <tr>
        <th>Table Header 1</th>
        <th>Table Header 2</th>
        <th>Table Header 3</th>
    </tr>
    <tr>
        <td>Division 1</td>
        <td>Division 2</td>
        <td>Division 3</td>
    </tr>
    <tr>
        <td>Division 1</td>
        <td>Division 2</td>
        <td>Division 3</td>
    </tr>
    <tr>
        <td>Division 1</td>
        <td>Division 2</td>
        <td>Division 3</td>
    </tr>
</table>
If you take a look at the code you just added you’ll notice that it esentially covers all the basic elements that get added to a page. Next we’re going add our styles to give them their own look and feel.
Step 2: Change the page title
Change the page title to Styles between the title tags in the header.
<title>About</title>
Step 3: The typography styles
1. Open typography.css you should see some CSS already
The Headings
One thing to always remember is that fonts are relative. As a rule of thumb I try to make each font at least 4px larger than the previous. For example, if h3 is 14px then I would make h2 18px and h1 22px etc. (In this case I made h1 even bigger)
2. Replace the existing headings with the following code.
h1{ color:#fff; background:#ff8401; font-size:30px; padding:12px 0 12px 15px;  margin-bottom:10px}
h2{ color:#2451a0; font-size:18px; font-weight:700; }
h3, h4, h5, h6{ font-size:14px; font-weight:700; color:#000; }
You should try to avoid going deeper than 3 levels when it comes to headings so I made h3, h4, h5 and h6 all have the same style.
Links
Links should should be the only elements that are underlined. They should also have a clear hover state when someone hovers their cursor over it.
3. Apply the following styles for the links
a
{
	color:#ea6300;
}
a:hover
{
	color:#ea9251;
}
a:visited
{

}
Paragraphs
Paragraphs should always be easy to read. You can make it much easier by having a lot of space between each paragraph.
4. Apply the following styles for paragraphs
p
{
	margin-bottom:10px;
}
Strong and Bold
You will want to pay attention to what weight and color you’re using based on the styles of the font around the bold text. For example, on dark backgrounds I always make bold elements a little whiter than the text around it.
In this case we don’t have to do anything with it.
Emphasis and Italics
Ditto with empasis and italics, in this case we don’t have to do anything more than set it as italic.
Unordered and Ordered Lists
Unordered and ordered lists should have plenty of space around it so that the eye can scan it easily.
In this case the styles are good enough so you don’t have to do anything with them.
Definition Lists
Definition lists are one of the most underused elements on the web. It’s a shame too because they are really useful.
In this case we are going to add some styles to replace the current styles with the following code.
dl{ margin-left:15px; }
dt{
	background:url(../images/bullet.png) no-repeat;
	display:block;
	margin:10px 0 5px 0;
	padding-left:23px;
	font-size:14px;
	font-weight:700;
	text-decoration:none;
}
dd{ margin-left:23px; color:#717171;  }
Miscellaneous elements
At the end of your typography file there is a grab bag of different typography elements. These are the ones that don’t get used very often but should be styled in the off chance that they get used.
In this case the styles should look like this
blockquote{ background:url(../images/quote.png) no-repeat; padding:5px 0 0 18px; color:#5f5f5f; margin-bottom:10px;   }
blockquote span { display:block; text-align:right; font-weight:700; color:#000;  }

abbr{ border-bottom:dotted #000 1px;  }

acronym{ border-bottom:dotted #000 1px; }

sub{ font-size:10px; line-height:1.5; vertical-align:bottom; }

sup{ font-size:10px; line-height:1.5; vertical-align:top; }

code{ }

small{ font-size:11px }
Step 4: The General Styles
General.css is for those elements that don’t fall in a particular category (like layout or typography).
1. Open General.css
Tables
2. Tables won’t be used in any place in this design but it’s still good to have them designed so paste the following CSS into general.css.
table
{
	border-collapse:collapse;
	border:solid 1px #000;
}
table th
{
	background:#ff8401;
	padding:5px;
	border:solid 1px #000;
	border-bottom-width:2px;
	color:#fff;
	font-weight:700;
}
table td
{
	padding:5px;
	border:solid 1px #000;
}
Images
You’re pretty much guaranteed to always use images in your designs so this is a good place to put styles for all images that don’t have specialized styles.
2. Apply the following style to the img block
img
{
	border:solid 1px #bdbdbd;
}
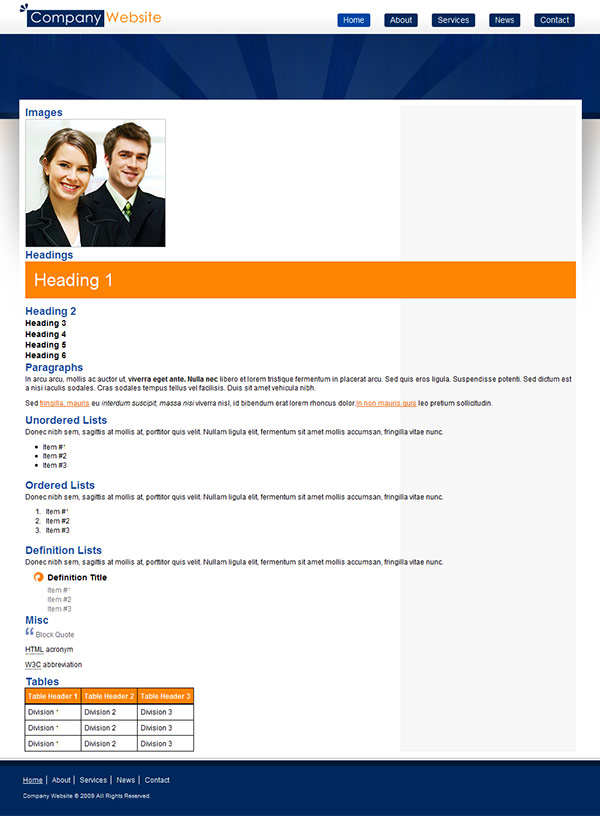
3. The styles page should look like this (Click for a larger view).
Comments
Post by hajan reckiest on September 1, 2009
very good download
Post by Antwan on September 10, 2009
Hey! Thnx for this tutarial, it helped me to understand the basics of slicing and creating a solid -cross browser- webpage. With my PHP expierences this will help me master all elements to create a dynamicly perfect website! PS1: Are you planning to add a part of navigation user firnedly through the menu? PS2: Seems you forgot somethings (I didn't have all the images in te process) and what exactly is the styles.htm for..?
Post by Joshua Bolduc on October 3, 2009
Styles.htm is the place where you can put all your generic html elements (headings, images, paragraphs etc) that you'll use throughout the rest of the website.
It's a great way to see how all the elements will work together and also ensures that you don't forget anything.
Post by Avijit Dey on October 30, 2009
very good to learn in very short period....
Post by pascal on November 4, 2009
Thanks voor the great tut!
Post by Bob on November 9, 2009
Great tutorial. I particularly like your CSS breakdown/organization methodology. Thanks!
Post by Albin on December 13, 2009
Hai! thanks. I am not able to downloade the psd file you have given. It is downloaded without layer i.e., Composited layer (0ne layer). What should I do?
Post by Joshua Bolduc on December 13, 2009
It sounds like you're opening the file with Adobe Acrobat. Make sure you open it with Photoshop.
Post by Twitz on January 24, 2010
Hmmm. Wouldn't it be easier to just do a File / Export to the CSS and HTML after the slices are all added and let PhotoShop create the files for you? :o)
Post by Joshua Bolduc on January 24, 2010
Hi Twitz, That is an excellent question.
There are a few reasons why you shouldn't export directly from Photoshop.
Photoshop doesn't generate standards based code.
The design won't look the same in all browsers.
Photoshop can't create repeating backgrounds which are crucial in pretty much all designs.
Coding it by hand results in much leaner code that downloads faster.
However, exporting from photoshop could be useful for protyping purposes . . .
Post by eve on February 1, 2010
awesome tutorial.. exactly what I needed! Helped heaps xox
Post by peter on February 10, 2010
when i open the Home.psd file in photoshop cs4 on a mac to begin slicing i see a bunch of blue outlines with numbers in the upper left hand corner. What are these and how do i get rid of them so i can see what i'm slicing (and saving because they show up when i'm trying to save the slices as well. thanks i'm a newbie to this.
Post by Bill Miller on February 12, 2010
Great tutorial. It has helped tremendously.
Post by BerggreenDK on November 25, 2012
Just a few comments. First of all, the favicon.ico ought to be placed in the ROOT of a website, as robots and browsers look for /favicon.ico by default. So those not parsing the HTML for shortcut icons etc. will still find it. Secondly, if you shorten your folder paths to images and css, you will generate shorter HTML which again will let your page load faster. If you only include a few images, this might not seem like a lot, but if you have 10000 visitors the difference between placing everything in /images/ versus /g/ addes 5 bytes ekstra download per image. Lets say you have 30 images on a page, thats 30x5 = 150 ekstra bytes pr. page. Then if you have 10000 visitors it addes up to 1.500.000 bytes or more than a megabyte trafik. Same goes for long css descriptions where you dont need them all as they are nested and therefore can be uniquely identified from a top #id or .class. Eg. if you place the footer menu inside footer, you dont need to specify the class/id in the html as there is only one type of inside the footer and that would be the menu. So instead of spending a lot of bytes on each page, you can spend a little extra bytes on the css (which is downloaded and cached between pages when placed in an external file as you already do) and then shorten the HTML a LOT and it will still make sense afterwards when reading it.